

DIY Stair Railing Installations
The Foolproof Way to Get the Right Measurements
Installing a railing for a staircase can be intimidating. But there’s a way to do it without calculating angles or geometry. I was lousy at math, and yet I’ve installed several of these perfectly.
This video shows the simple steps for installing a railing all BY YOURSELF. Of course, you could have someone hold the railing against the wall while you mark the studs. But honestly, this project took me less time to install than it did to put all the materials together.
I’ve linked everything you need for this project here: Materials List
(If you would like to support this page, please use the the product and materials links. Thanks!)
The basic idea is to use a board across the stairs to find the common height. Then put another board against the wall so that it’s vertically plumb. You can mark the height of your stair rail on the second board in advance and then transfer that mark to the wall once it’s vertical.
In the video, I use a 12 inch level against a tape measure. It’s a little clunky, but it still works. The method I just described is less clunky. Better yet would be using a 48 inch level, but I imagine most people don’t have one of those laying around.
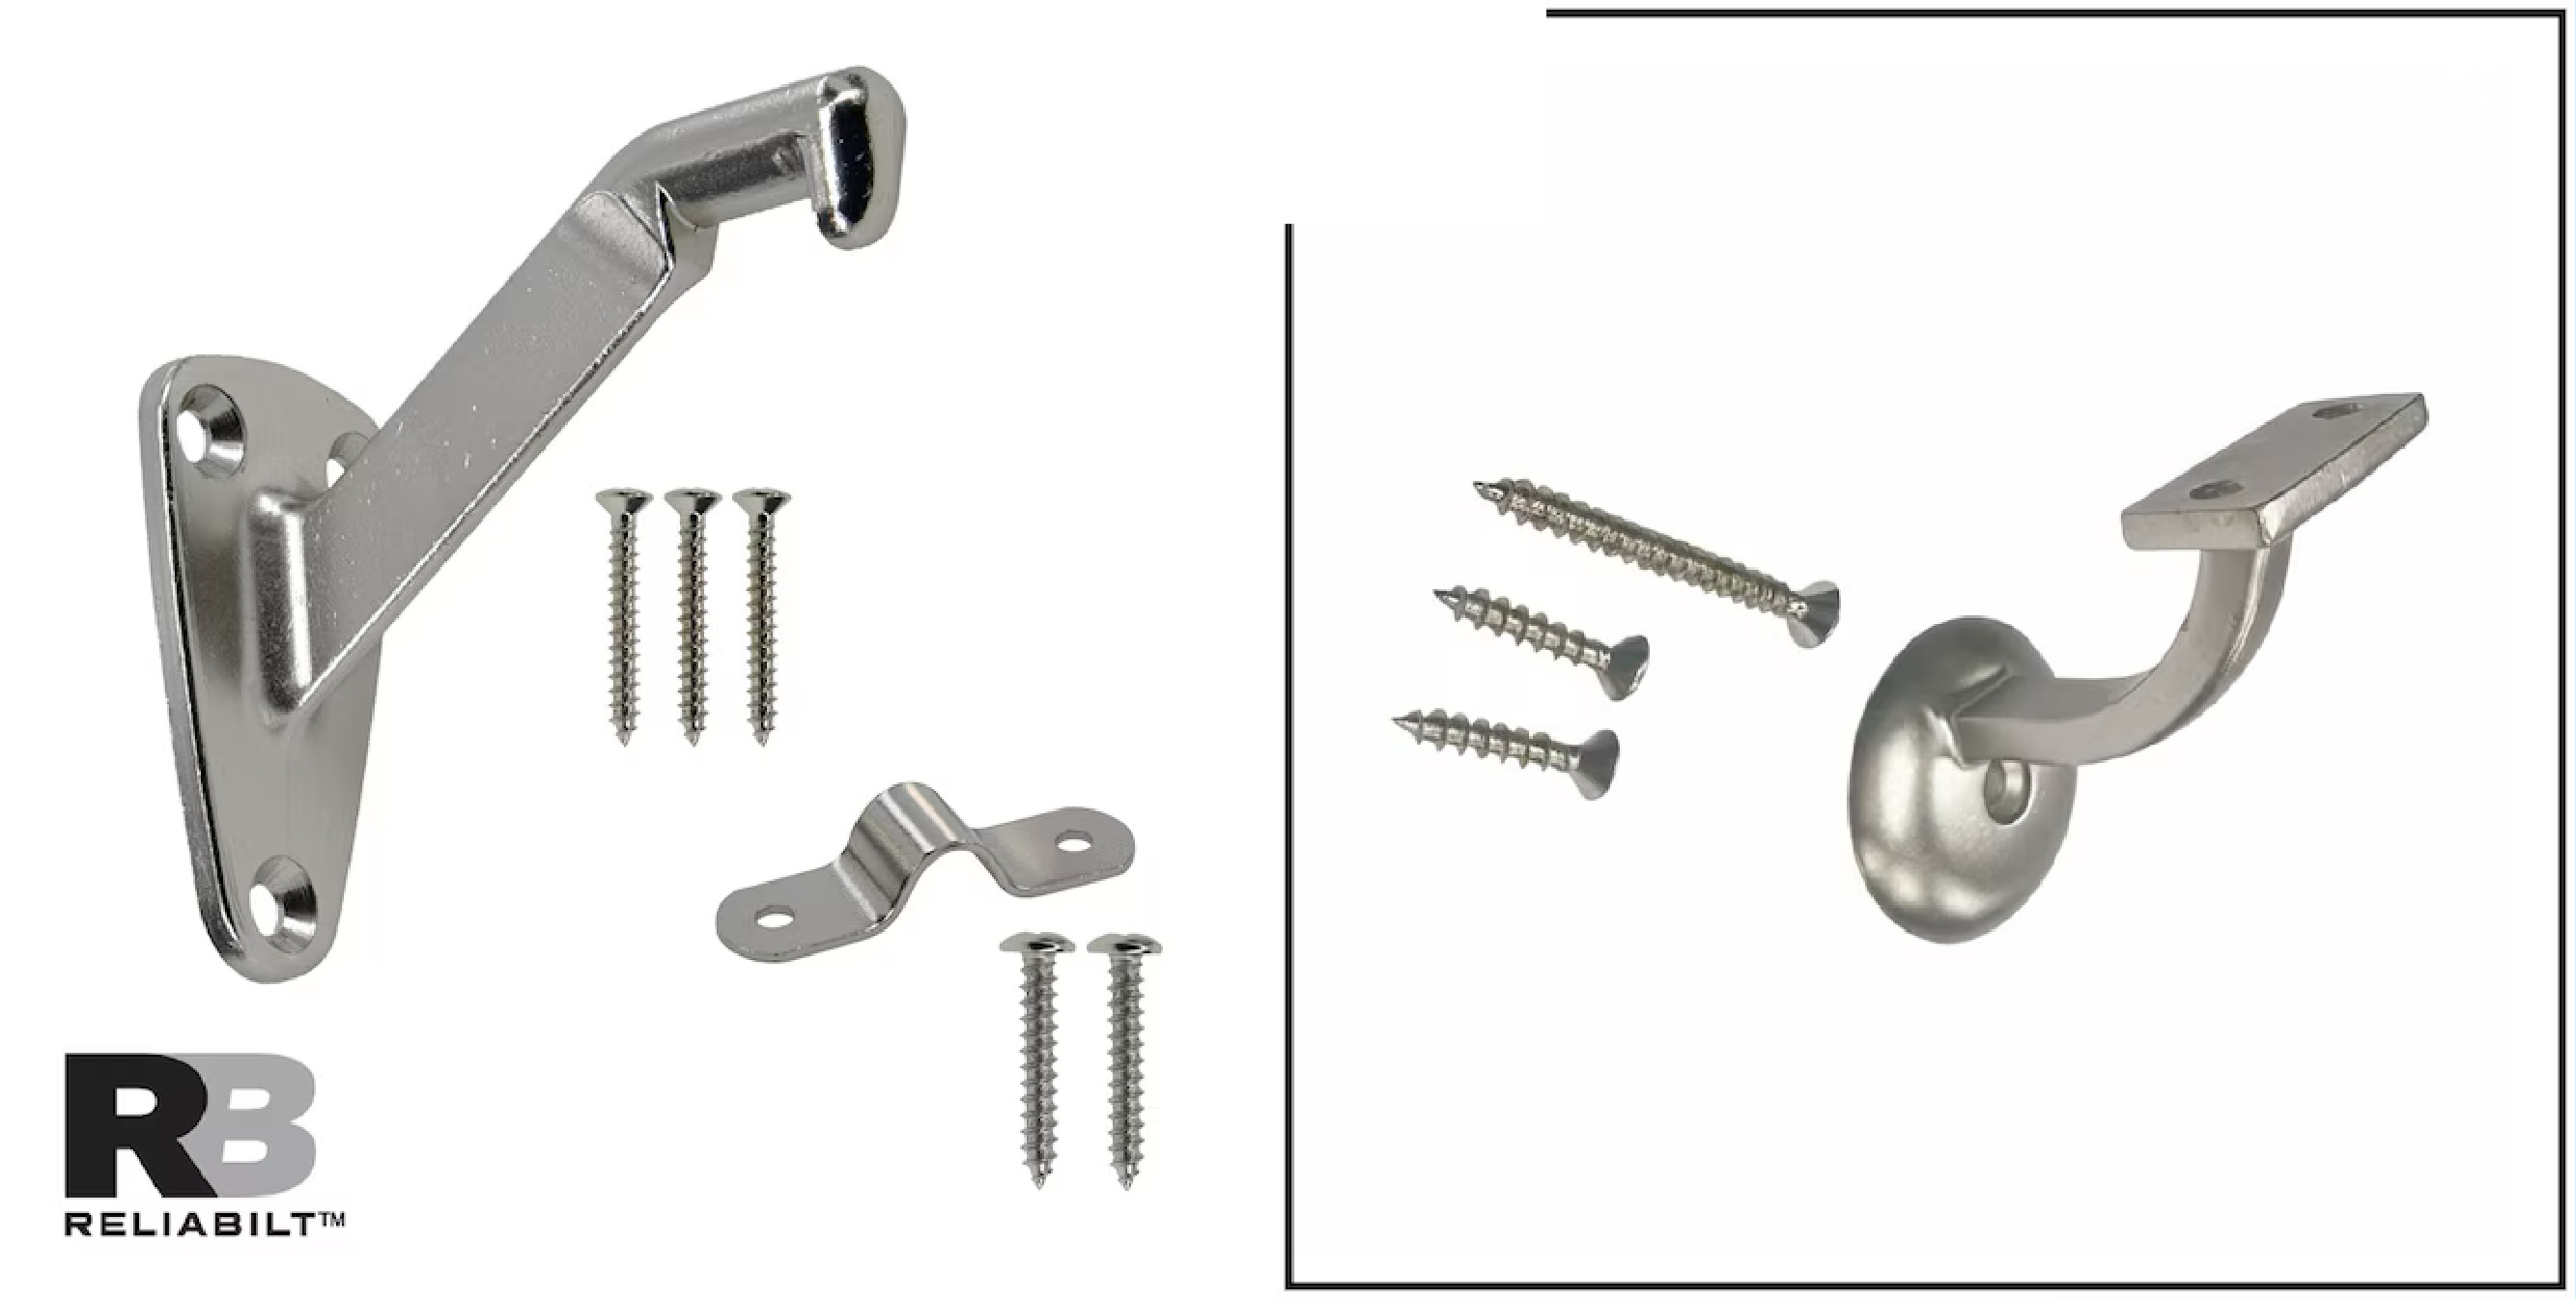
Please note that this guide is for a 2-piece wall bracket. There are also one-piece brackets that are mounted to the wall via a single screw and then rotated to match the angle of the stairs. You can still follow these general guidelines for measuring those brackets. I think the 2-piece brackets are a little easier to work with, but it really comes down to aesthetic.
And keep in mind that if you’re unable to get a long railing home by yourself, you can have it delivered through Lowe’s. Delivery fees may apply.
I hope this gives you the confidence to tackle a railing by yourself. See you on the next project.